
Shelf design 1.0
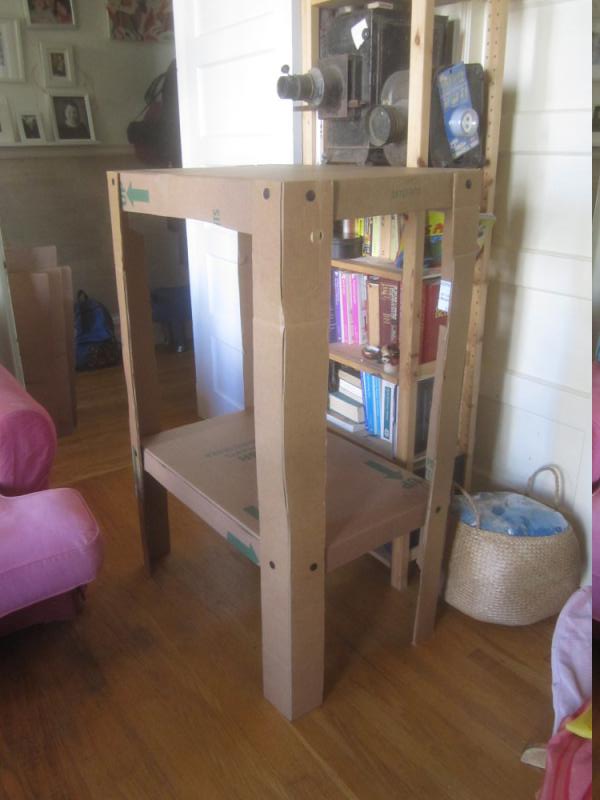
Initial crude prototype
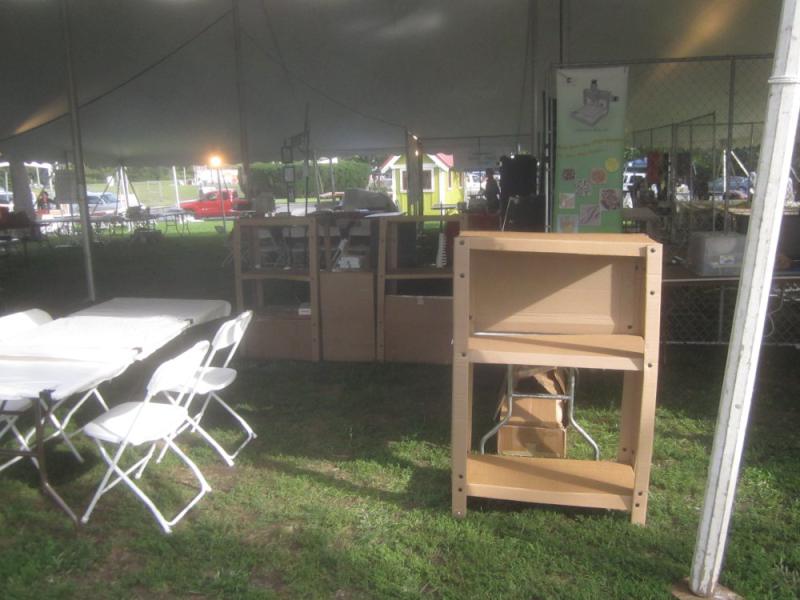
Freshly set up for Maker Faire
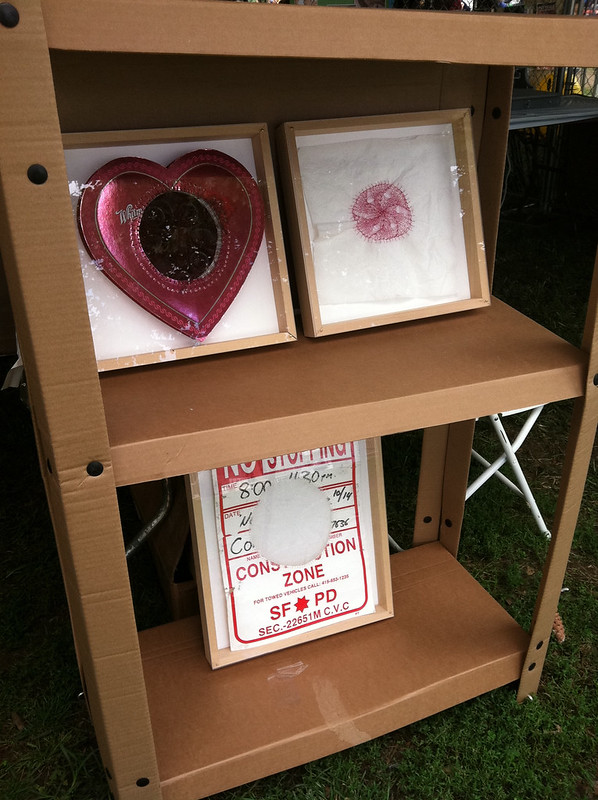
In use: this one is attached to the ground with tent pegs.
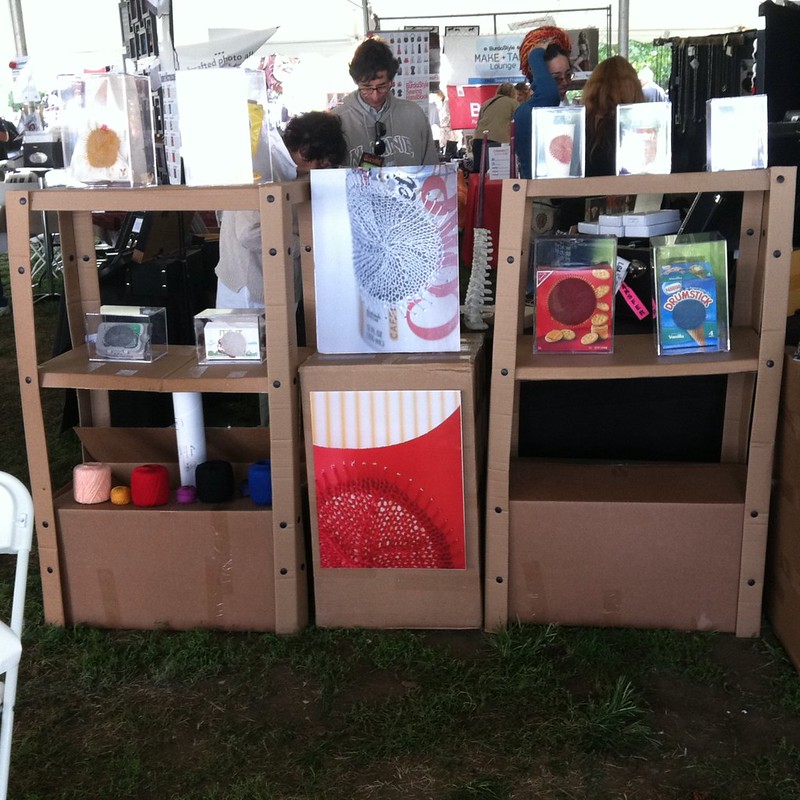
In use: these are riveted to weighted boxes to anchor them.
Why. For the 2011 NYC Maker Faire, my wife asked me to create cardboard shelves for her booth. The reasoning: almost entirely free material, easily obtained and shipped. No need to ship back, just recycle.
What. This is the design I came up with. I used large scrap cardboard boxes for my source material. Ideally you get pieces large enough that you have no existing creases, or only creases that align with folds you need.
Tools. I cut the board with a regular snap-off blade box cutter, scored the lines to fold with a screen roller (also called a spline tool, available at any hardware store, normally used to put the rubber cord in around a window screen), and punched the holes with a nail setter (available at any hardware store, normally used to drive small nails flush or sunk into wood).
Rivets. Key to the construction is using box rivets, I used Mr McGroovy's. These are marketed with kids playhouses in mind, but are quite versatile. One mixed size box made three sets with two shelves per set. They are easy to attach together, but hard to separate. I got two boxes, so I'd have spares to adapt the design.
Construction. Cut, fold and rivet legs. I made legs out of 9" x 48" cardboard, folded double thick. They are then pinned together with the smaller size box rivet. Shelves are simple rectanges with a 2" lip. Cut out 2" x 2" squares from the corners of a rectange, then fold down flaps. The extra 2" squares can be used as spacers if you need to fill out a joint.
Plans. Version 1.0 plans, pick your file format:
Tips and ideas.
Deconstruction. If you need to take out a rivet non-destructively, you can pull them apart with your fingers, but I found that made my fingers sore. McGroovy's recommends using a claw hammer. Repeated removal can crush the cardboard near the hole, making spacers necessary.
Deconstruction. When we were done with the shelves, I destructively took the rivets out with a box cutter, slicing the cardboard to the edge of the rivet, then tearing the rivet out. Rivets were saved, cardboard discarded.
Experience. Having used these, I can say I'd probably do it again. But with some changes. I should have sized the shelves to exactly match an anchor box, because that method of stablizing them worked quite well. My shelves didn't match the box exactly and the legs ended up bent a bit. The Maker Faire booth location was on grass and under a tent, with dry ground. Perfect for tent pegs, I thought, but they only worked so-so well. It can be difficult to get the shelves level freehand. Several were clearly not level. Marking where to put them in advance would be a good idea.
Created 23 Sep 2011 by Eli the Bearded
Send me feedback at
<shelves@eli.users.panix.com>
