 qz thoughts
Micro Press
I saw someone else's teeny press project and was inspired. The design is interesting. Brian Cook's is a simple fold down frame and matching rubber stamps. Pluses: easy to get good registration, simple design and construction. But I can see room for improvement. Minuses: fixed size/shape block, fixed size shape paper, hand-pressed rubber stamps are hard to evenly press.
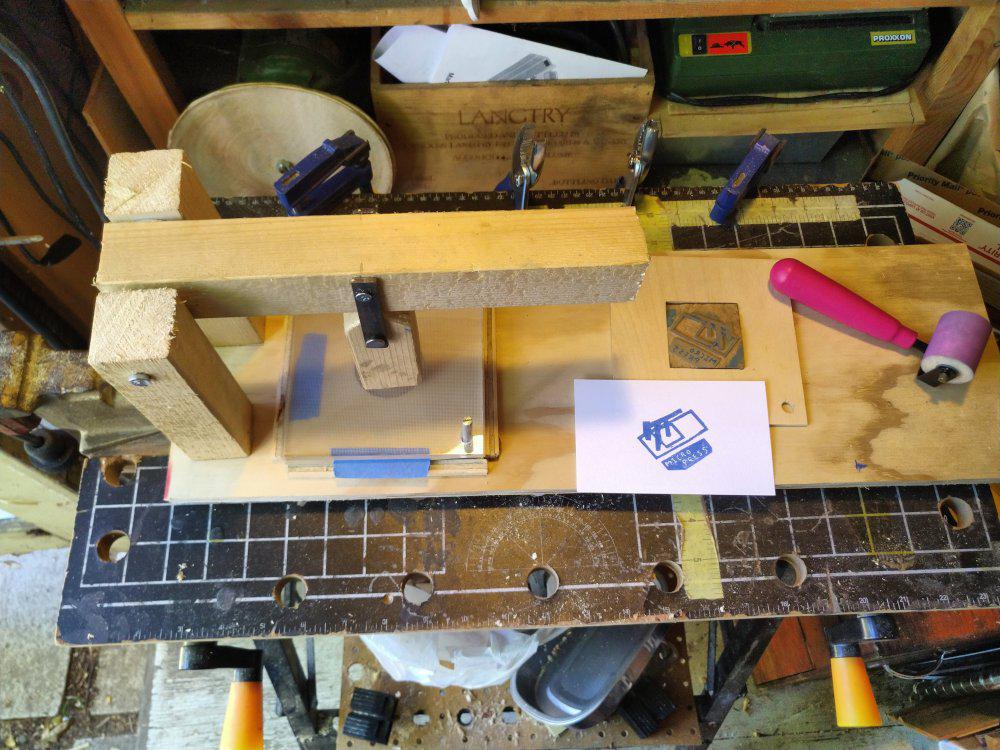
Modeled after a torilla press, I can get a lot of evenly distributed pressure. I made this using only materials I had laying around. There is a scrap of plywood for the base, and smaller scraps to hold the platen. Pine 2x2 for the press part, with 1/4" bolts screwed up from the underside. The main hinge on the lever is a bit of steel rod, the smaller plunger hinge is made from a large nail.
The platen ("flat plate of a printing press that presses the paper against the type") is some thick plastic I cut into 5" squares. The plastic came from an old combination scanner/printer. It seems to be optical polycarbonate with a fine grid printed on it. Very strong, very clear, very hard, very flat. Somewhat tricky to work with. Tools can melt it and then have the molten plastic move to a cooler spot and where the plastic suddenly hardens again. It seized up a drillbit for me, for example.
Very flat and hard makes a great platen.
I have two bolts there for alignment, not support. The stack here is
- plywood base
- plastic layer (bolts screwed into melted in nuts)
- block and frame for holding print block, loose fit over bolts
- paper, alignment to be done with masking tape on plastic
- second plastic layer, loose fit over bolts
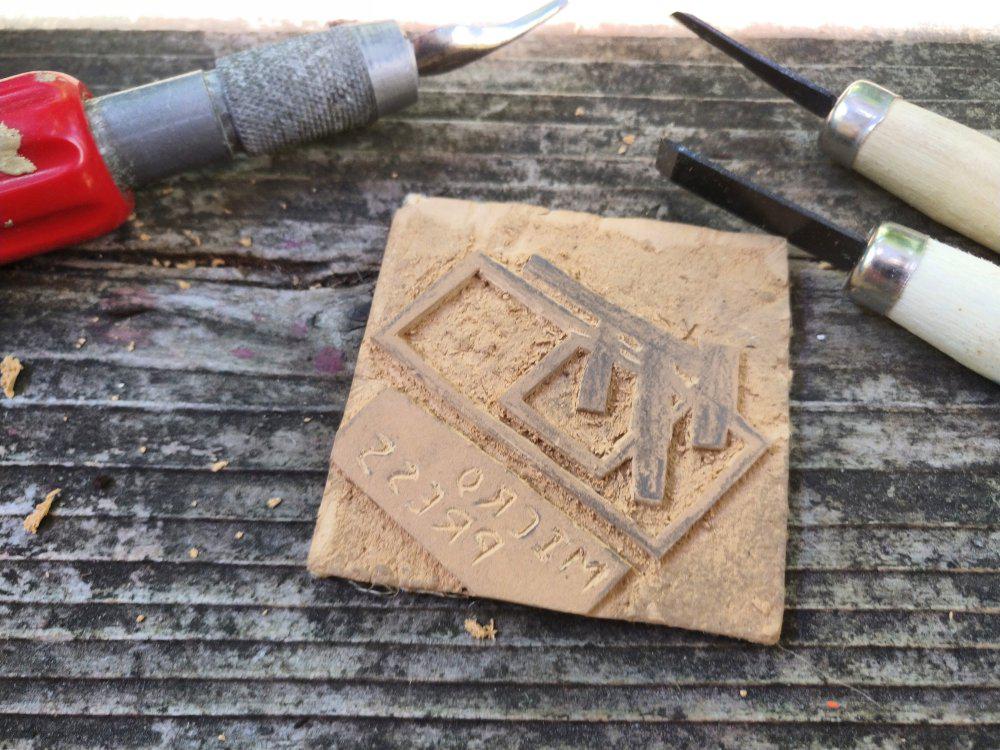
I have a lot of small chisels for lino work. None are great, but I'm not a great artist either. I decided on a simple rendition of the press itself for the first print (above). There's something satisfying in linoleum carving I find. Like Brian Cook's press, this is a two inch square. Unlike his, my press can accomodate other (small) sizes and shapes.
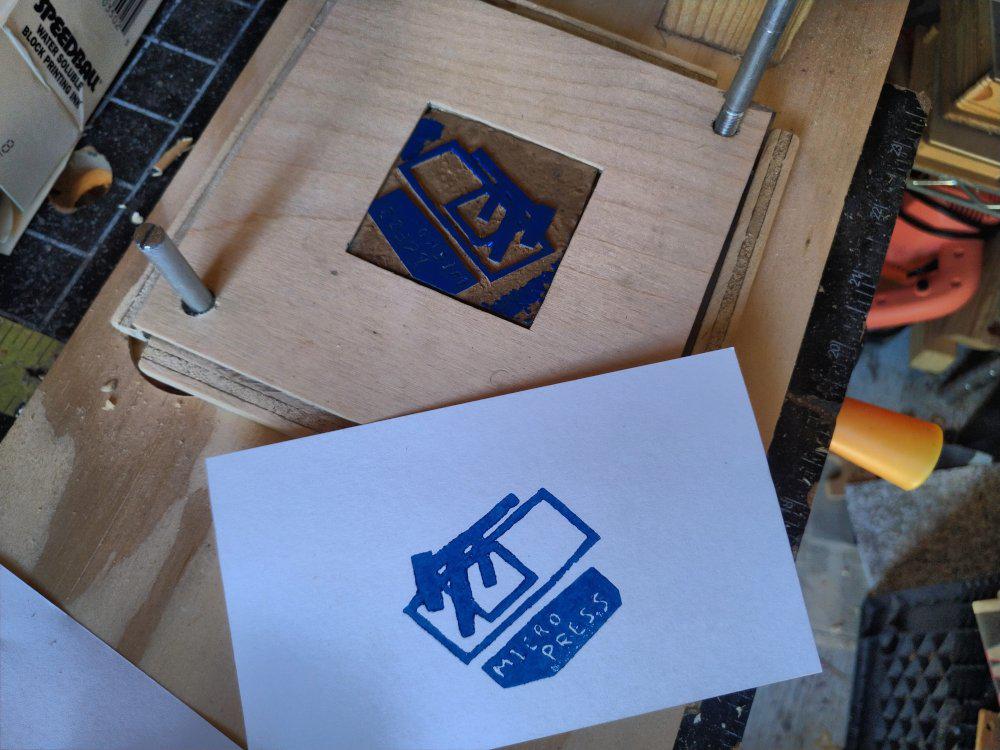
Pretty successful. The letters didn't come out as clearly as I'd like. My smallest chisels don't seem sharp or fine enough to do lines that small.
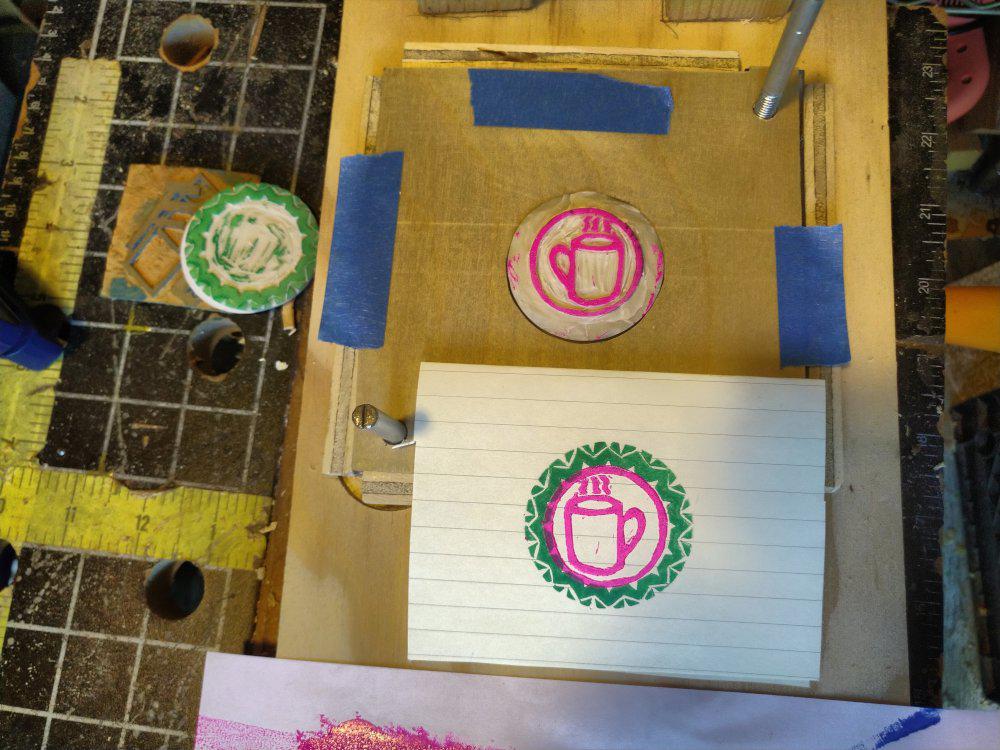
Here's an example of moving away from the two inch square, here with 45mm circular blocks.
I have two multipacks of these plastic linoleum substitute printing discs, purchased on a whim some years ago. The idea behind them is to make stamps with a special handle. I don't have the handle. These are not satisfying to carve. The print surface is smooth and firm, then it gets softer in the middle, with a rough backside coated with adhesive. The material is harder to cut than real lino. The adhesive to attach (it to the handle) is strong enough to be annoying but not strong enough to be effective.
I carved a border first (the green) then a second disc with an image. I didn't print the border onto the second, but did attempt to measure how much space I needed. It seems like I should use a more accurate system.
Overall, I'd say the press is pretty effective, and meets the goals I had in mind when I started. After using it I find that it is very easy to get a nice even pressing of the block into the paper, paper alignment (registration) works pretty well, and making new frames is pretty easy. It does have the drawback that it's somewhat slow and cumbersome to ink-up and swap paper. I hadn't given that enough thought during the design. Still, it works and cost me nothing.