Mini-Drawers
My desk at $WORK is small, with a large monitor taking up a lot of the space.
And it is a motorized sit/stand desk with no real options for drawers or
shelves. But I want to keep some small amounts of desk things in drawers. So
I designed a small set to fit the space.
Short enough to fit under the monitor, with something on top of it, legs
tall enough to have computer cables run underneath it, big enough to hold
a note pad and paper clips, made of thin wood to not take up more space than
necessary.
I made the drawers out of wood I had on hand.
The drawers are a little crude. I mitered the edges
of four sides and the bottom and glued them together with some square profile
pieces reinforcing all of the joins. In retrospect I should have used triangle
profile and neater joins for the reinforcing bits. I glued some button plugs
on for pulls.
Those completed, I purchased some 3mm thick plywood for the case.
Then Covid-19 hit.
My monitor is still on my desk at work, but I'm never in the office anymore.
My home desk has ample shelves around it, and room to attach a drawer to the
underside, if I wanted.
So the project went on hold.
But recently I returned to it.
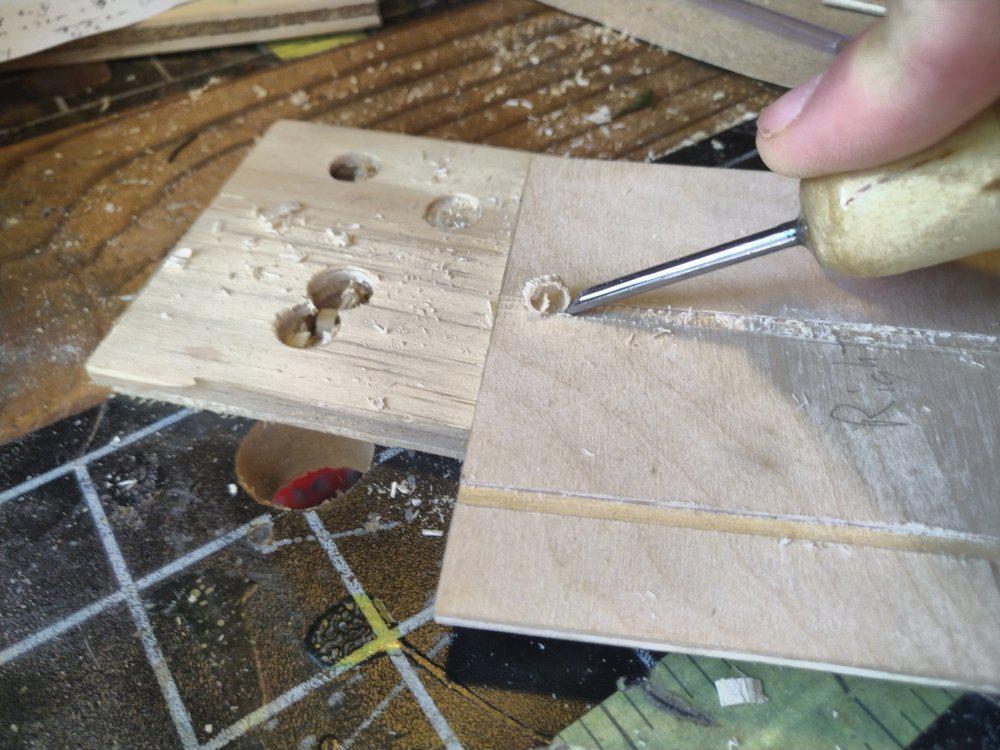
For the sides, I measured, scored with a box cutter, then chiseled out dados
for each of the horizontal pieces (top, middle, bottom). The chisel is a tungsten
carbide one I made myself following how-to-guides by
Patrick Sullivan on youtube.

I started with the bottom shelf, then loose fit the pieces together, put
a drawer on it and measured for the middle, then did it again for the
top. Here's the project at that stage.
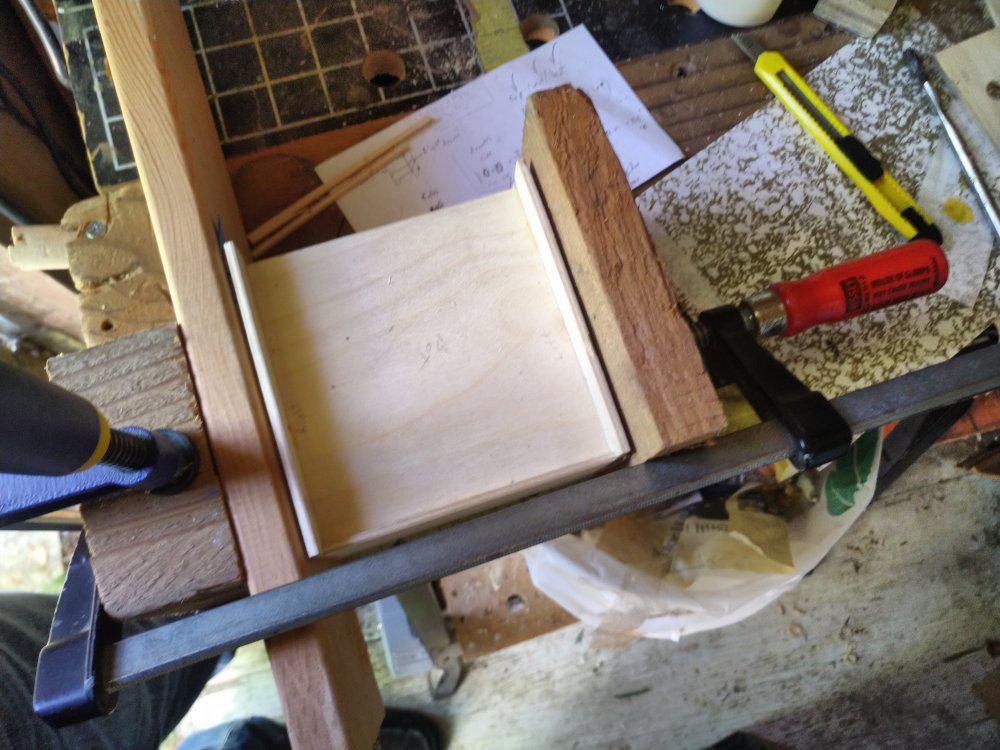
For the glue-up, I clamped a piece of scrap to my work table, then clamped
the box between more scrap to that piece. Towards the end of the project I
decided it would look good to have cork sides, for a micro pin board. I glued
those on similarly.
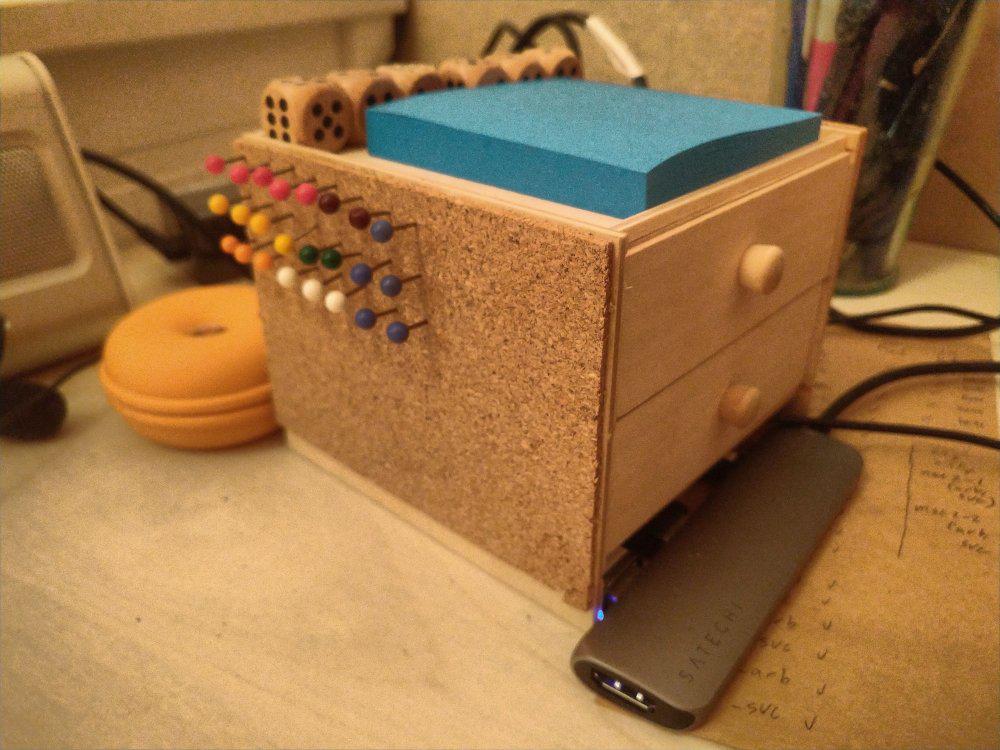
Here it is completed, on my home desk. At home, I run the cables out of
the left side of the computer, at $WORK, the right. Just what's better for
the power location. It fits a post-it pad and some dice on top. The smallest
pins I could find are map tacks, but they are still a bit long for the
shallow cork. I waxed the bottoms and sides of the drawers for smoother
operation. Otherwise, the wood is unfinished.
 qz thoughts