QZ qz thoughts
a blog from Eli the Bearded
Tag search results for woodwork Page 1 of 1

Sticker Roller Box


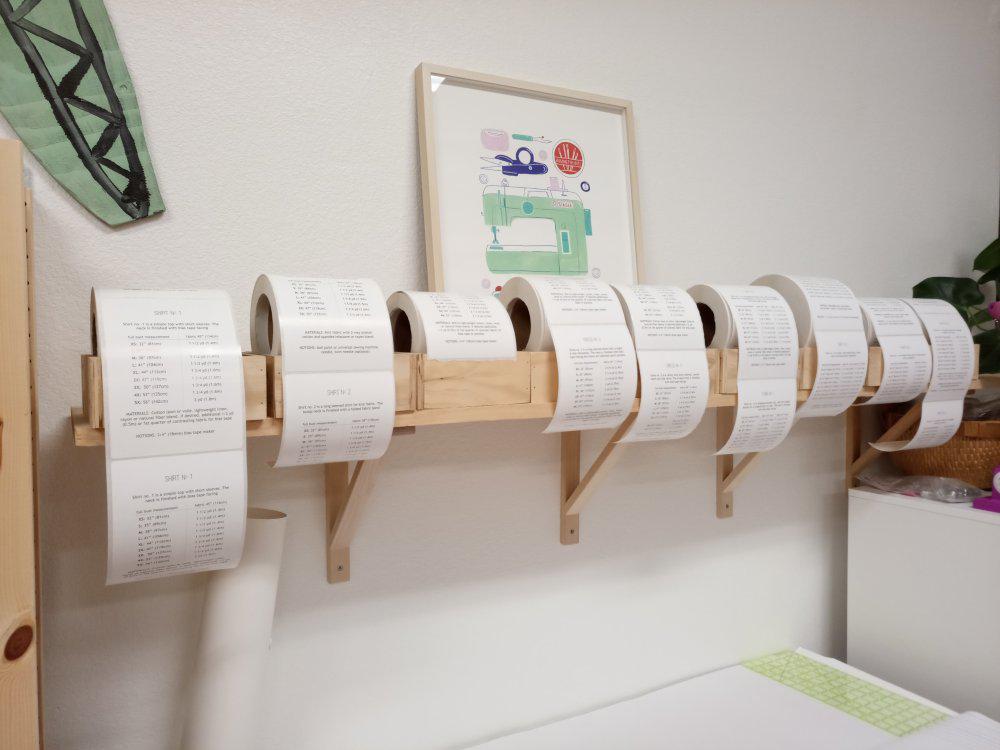
Shelf full of sticker rolls

Each of these rolls has a label for a different product.

My wife sells sewing patterns. Patterns directly sold to customers through the website have the package just taped shut (with color coded tape). Patterns sold in stores need information on the back about sizes and how what materials are needed. Originally she just used to print stickers in a laser printer, but as sales grew that became expensive and awkward. So she had stickers printed by a service. For price-per-sticker reasons, she gets a thousand at a time for each pattern. These come in heavy rolls. Sometimes it will be a single large roll of 1000, sometimes two medium rolls of 500 each.

Rolls want to be rolled. But if you just put them up on a closet hanger pole, they don't roll well. The bar isn't near the center, there's friction, and it ends up being a mess.

So instead support these giant rolls with two smaller bars. And make a "roller bearing" to help them spin. I made a set of boxes to do just that.
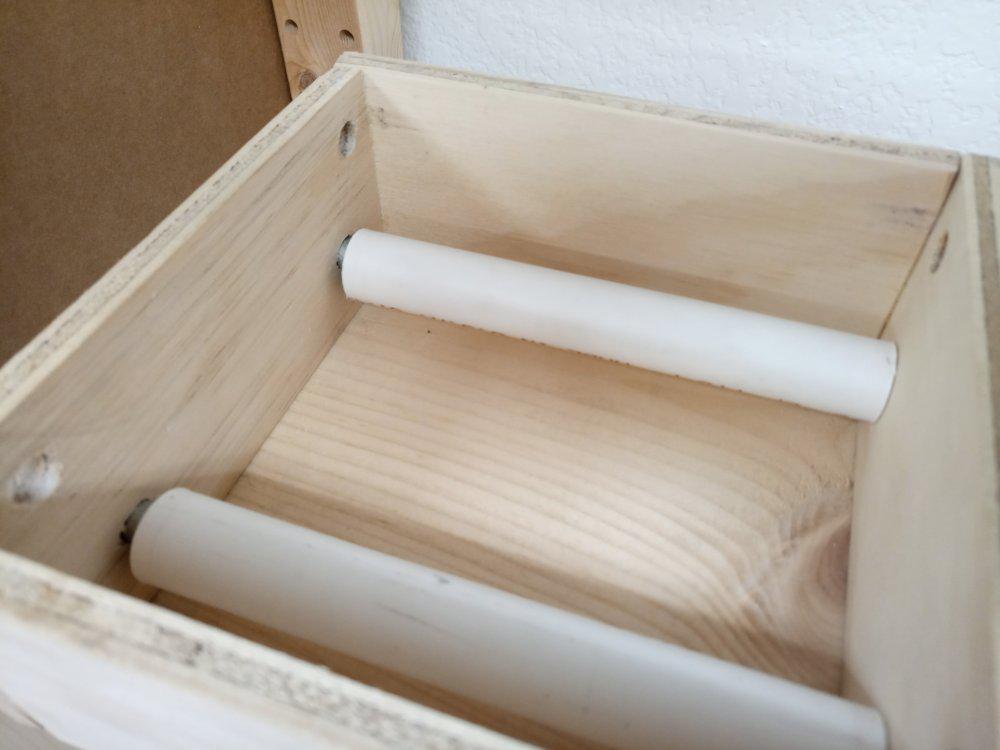
One view of an empty roller box

The box doesn't have a bottom, that's just the wooden shelf it is setting on. I orginally planned it around using the rollers in the upper position only. For a full large sticker roll that is necessary. The medium sticker roll is more forgiving of variations. Both will fall through the wide one eventually, and need the narrow.
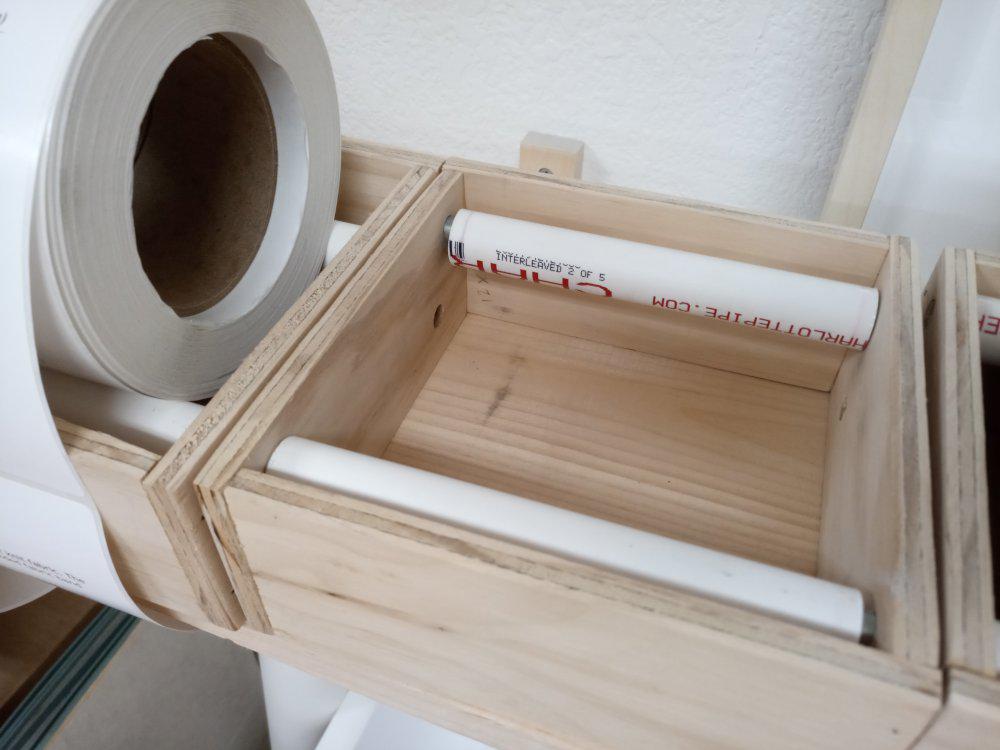
Another view of an empty roller box

The box partially visible on the left has the narrow roller on top configuration for a small (500 sticker) roll. The empty box has the configuration for a large (1000 sticker) roll.

Each box is made from four identically sized pieces of wood, with sides each having four holes corresponding to two high rollers and two low rollers. One pair of rollers is wide, for big rolls, one pair is narrow for smaller. The box can be flipped to make wide or narrow the higher pair.

The rollers are 3/8" (9.4mm) steel bars with 1/2" (12.7mm) inner diameter PVC water pipe for a roller bearing. There are only two rollers at a time in a box, the steel bars are just friction fit and can be swapped.

This works great. If I were doing it all again, I'd not use the all four identically sized pieces of wood design.

Simplied sketch of construction

The holes have to be offset differently on left and right sides with this layout which ended up making the drilling of the holes and the assembly a lot more complicated than it needed to be. Setting up the table saw for cutting longer and shorter pieces of wood would have been much easier overall.

Mini-Drawers


My desk at $WORK is small, with a large monitor taking up a lot of the space. And it is a motorized sit/stand desk with no real options for drawers or shelves. But I want to keep some small amounts of desk things in drawers. So I designed a small set to fit the space.

Short enough to fit under the monitor, with something on top of it, legs tall enough to have computer cables run underneath it, big enough to hold a note pad and paper clips, made of thin wood to not take up more space than necessary.

I made the drawers out of wood I had on hand. The drawers are a little crude. I mitered the edges of four sides and the bottom and glued them together with some square profile pieces reinforcing all of the joins. In retrospect I should have used triangle profile and neater joins for the reinforcing bits. I glued some button plugs on for pulls.

Those completed, I purchased some 3mm thick plywood for the case. Then Covid-19 hit.

My monitor is still on my desk at work, but I'm never in the office anymore. My home desk has ample shelves around it, and room to attach a drawer to the underside, if I wanted.

So the project went on hold.

But recently I returned to it.

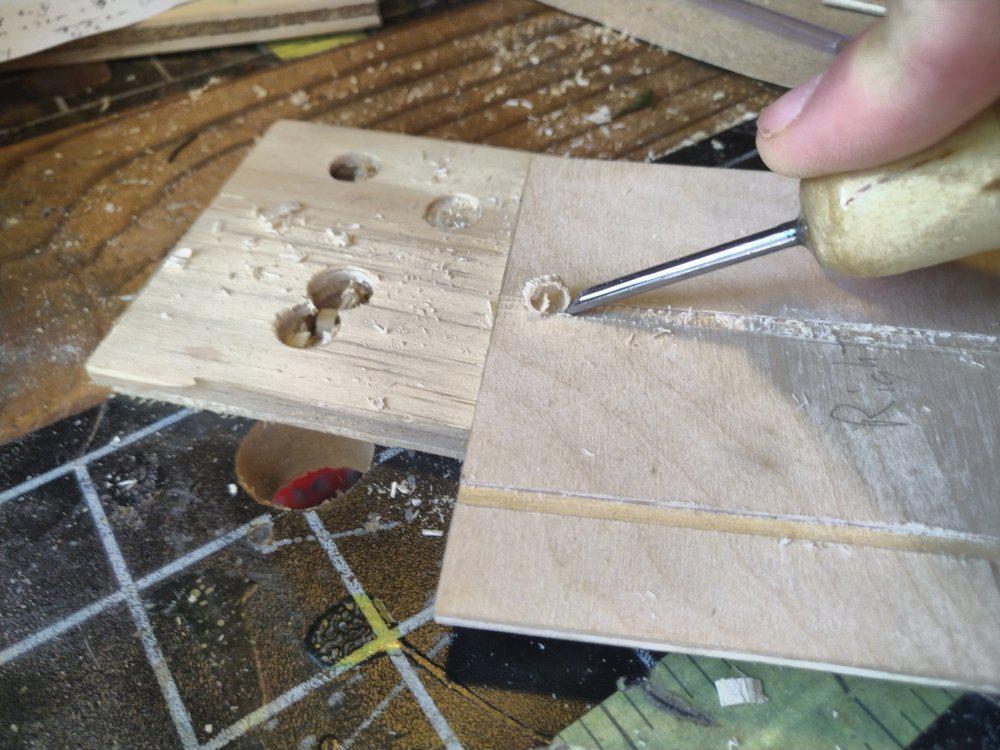
chiseling a dado

For the sides, I measured, scored with a box cutter, then chiseled out dados for each of the horizontal pieces (top, middle, bottom). The chisel is a tungsten carbide one I made myself following how-to-guides by Patrick Sullivan on youtube.

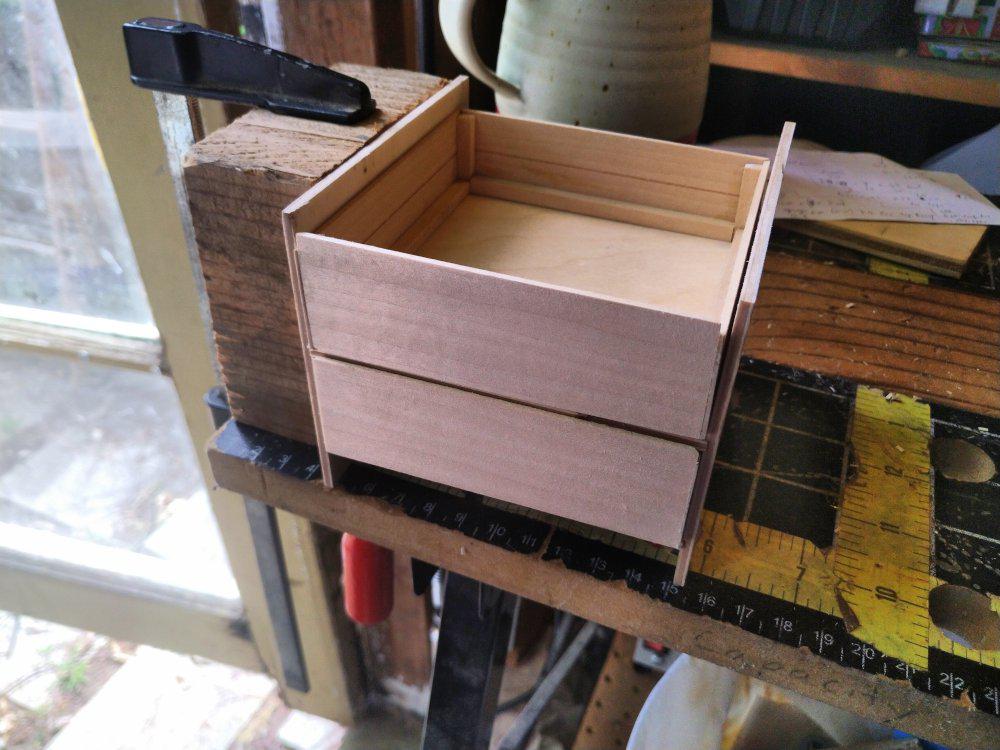
loose fit together

I started with the bottom shelf, then loose fit the pieces together, put a drawer on it and measured for the middle, then did it again for the top. Here's the project at that stage.

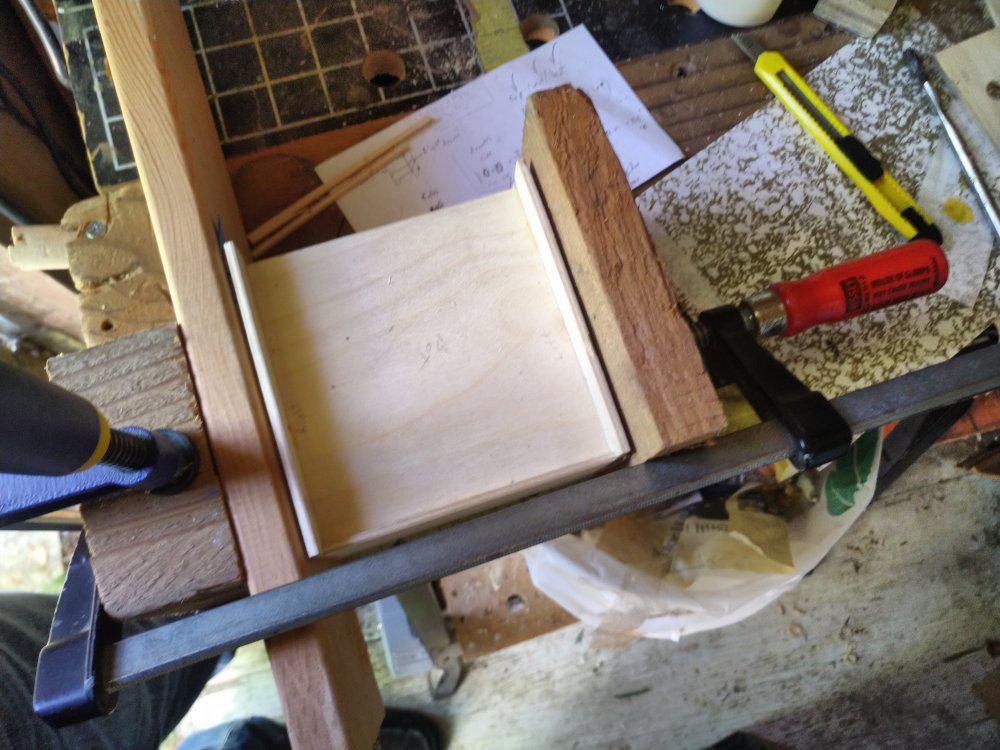
clamped for glue

For the glue-up, I clamped a piece of scrap to my work table, then clamped the box between more scrap to that piece. Towards the end of the project I decided it would look good to have cork sides, for a micro pin board. I glued those on similarly.

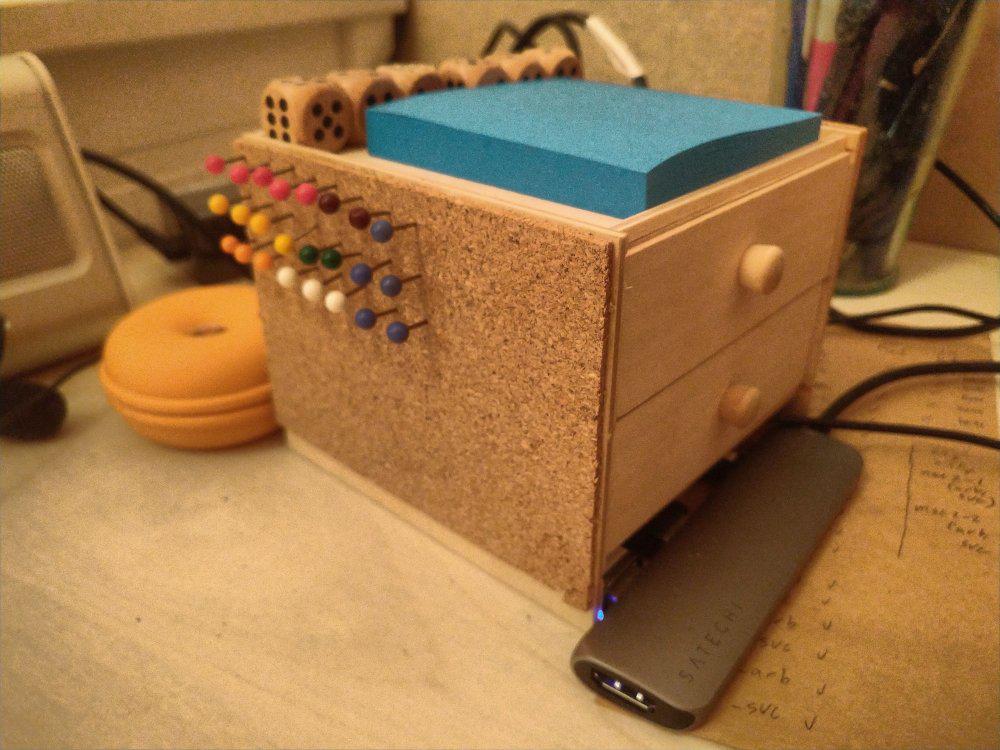
completed

Here it is completed, on my home desk. At home, I run the cables out of the left side of the computer, at $WORK, the right. Just what's better for the power location. It fits a post-it pad and some dice on top. The smallest pins I could find are map tacks, but they are still a bit long for the shallow cork. I waxed the bottoms and sides of the drawers for smoother operation. Otherwise, the wood is unfinished.